Miss Mae has been watching me make blocks for the
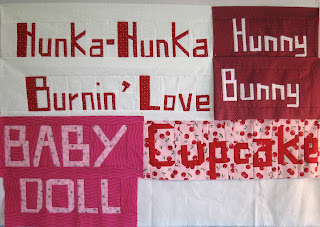
block lotto for months now, and she asked if she could try to make one. After getting the okay from the group, she and I sat down this morning while the others were at dance and thought about what word to make.
Trying to explain terms of endearment to a seven year-old was hilarious. I told her it was a nick-name you call someone you love. She thought about it and came up with 'booger," "silly goose" and "goof-ball". Can you tell what I call my kids? Anyway, after trying not to laugh, I suggested she think of a name that anyone would like being called. She choose Sweetie.
We got out the graph paper and she printed her word, using only straight lines. (Easier to sew)
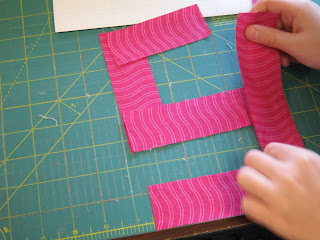
Next, we laid out the fabric strips in a shape to build an "S" I had pre-cut a bunch of 1 1/2" x 6" strips.
Then we trimmed the strips until it looked right and then added strips of background to fill in the holes.
First she sewed the end pieces to the background strips. She pressed them, and used the ruler and rotary cutter to trim everything square. No pictures of this, she made me too nervous using the rotary cutter!
Then she sewed the horizontal pieces to the middle pieces. The machine was on turtle speed, which was just fine!
She pressed and trimmed after sewing each seam, which helped to keep things straight and even.
Here's the finished "S" with a narrow strip on the right, to add the next letter to. Pretty darn good for a second grader!
One letter down, 6 more to go!


