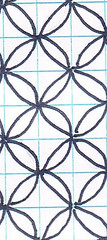
Showing posts with label window process. Show all posts

Thursday, September 23, 2010

Cathedral Windows ~ Step Three


The goal of this step is to sew up the unsewn edges, creating a fabric "pillow"

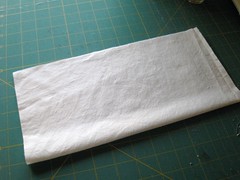
This is what we have, a nice rectangle, with the sides sewn.
short sides sewn

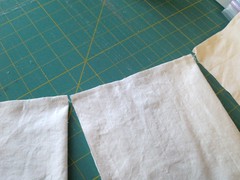
Now we are going to take the two seams and match up the centers.
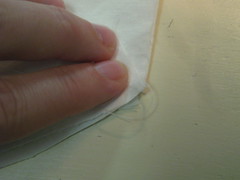
matching points

We are going to be sewing along this line.
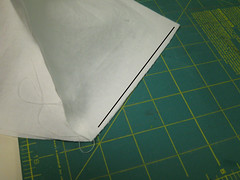
ready for sewing
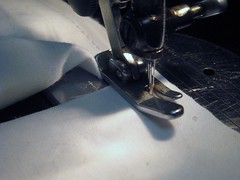
We are NOT sewing over the center.  We are going to stop just short of the seam.
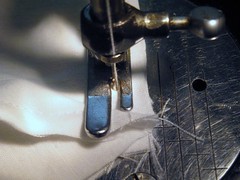
point sewing (2)

Since I like to chain piece, when I get to this point I stop with the needle down, lift the presser foot and turn the fabric.
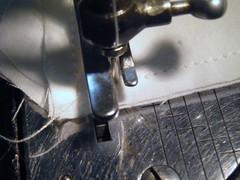
turn and sewing
Then I lower the presser foot and sew off the edge, which serves nicely to lock the stitches.

Sew all of them like this.  Then clip them all apart.

This is what it looks like with one side sewn.
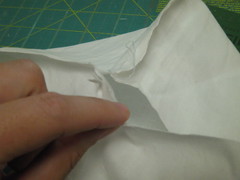
one side sewn (2)
Now, go back and do the same thing for the other side.

This is what it looks like at this point.
done sewing before turning
Remember, there's a hole at the center where all the seams meet. We want that.

Clip all four corners.
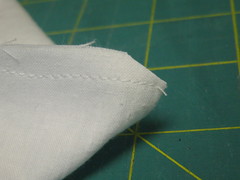
clip corners

Now the part I do in front of the tv. 
Turn them all inside out.
Generally the holes I leave at the center are on the small side, so I tug loose a few stitches to give me a bit more room to turn them.

Don't worry too much if you don't have nice sharp points, we'll fix that later.
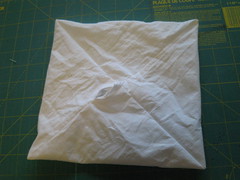
hole in the middle

Voila, a fabric box/pillow thingy.
 
Mr. Chaos calls it "fabri-gami." (which I find funny 'cause I'm horrible at origami.) 

At this point, don't smooth them out.  Because of the way they're sewn, the edges are all on the bias, which means if you're not careful you can smooth them all out of whack and they aren't square anymore, which will cause difficulties later.

The next step will include ironing, so they will get nice and smooth.

Saturday, September 18, 2010

Cathedral Windows ~ Step Two

window-header


The goal of this step is to fold each square in half and sew along the short edges.

*A note about thread - It is important to use thread that matches the color of your squares.*

Fold one square of fabric like this.

folded square


Sew along one of the short edges.  I start sewing at the "top"  (the edge that isn't folded.)

I like to chain piece them, it keeps everything together.

chain piecing detail

So, continue folding and sewing along one of the short edges. Do this for all your squares.

one side sewn

Once everything has been sewn together, clip the threads joining each square, and repeat the process for the the other side, starting again at the unfolded edge.

Voila, a square with both short edges sewn.
(sorry no picture, completely forgot about it)

Friday, September 03, 2010

Catherdral Windows, Step One


The goal of this step is to end up with twenty-one 12" squares of background fabric.

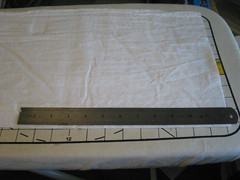
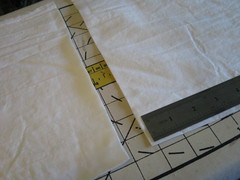
I fold the yardage selvage to selvage, and then fold again, so it fits nicely on the ironing board which doubles as a longer cutting table.  Then I roughly measure out 13(ish) inches, using my handy-dandy ruler.


measuring on ironing board

Then I cut with scissors.

first cut with siscors

I repeat until I have 8 - 13" x WOF strips.  I only need 7, but I like to have an extra.

stack of 13 in strips

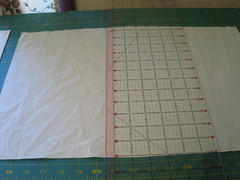
Now I square the strips up and cut into 12" squares.  Pretty basic.
I cut them width-wise first, getting three 12"x 13"(ish) squares from each strip.

ready to cut

Then I stack the three, turn and trim the other two sides.  Then I repeat for the rest of the strips.

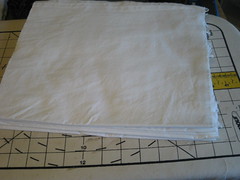
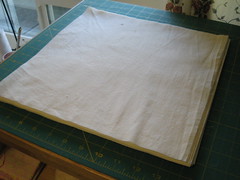
stack of 12 inch squares
Viola, a stack of 12" squares.

Thursday, September 02, 2010

Cathedral Windows ~ My Way

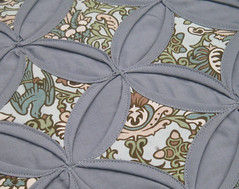
detail

I've decided to post my process for making cathedral windows, step by step, as I do it.
I'm not gonna call it a quilt-a-long, for a couple of reasons
  • I don't think I'm quite cool enough to host a quilt-a-long
  • the posts won't be regular, more like when I have time to work on the project
  • I have no idea how to make a "button"
That being said, please ask questions if something is unclear!!

On to the project.

I'm in this totally awesome All About Christmas Swap, it's blind, meaning no one knows who's making pretties for them.  I have decided to make a runner/hanging and a couple of pillows for my partner, all using cathedral windows.  I have a vague notion of what the finished products will look like, but I'm totally going to go with the flow.

I'm starting with the runner. Here's the basic plan.

runner
.
Here's the fabrics I've decided to use.

option one

For the runner, we need a background fabric and some window squares.

My background will be white.
We need about 2 1/2 yards.
We'll also need about 20 4" squares for the windows.

I know that seems like a lot of background fabric, but remember, there's no batting or backing in this runner.

Since my life requires me to be able to drop a project at a moments notice, I tend to do each step in such a way that it is easy to put away, even mid-step.

Like right now.  I need to go remind my kiddos that sharing is a good thing.