The concept behind Choose Your Own Adventure (CYOA) is simple.
The directions are basic and easy, but depending on the choices you make with fabric and layout, the results are a project unique to you.
All of these projects can be made using scraps or coordinated fabrics, it's up to you.
I hope this is the first in a series of tutorials.
I certainly had a good time playing around!
Without any further delay, here's the first one
A Whole New World
This classic and easy block finishes at 4" is called "Whole New World".
(At least that's what I found when I googled it. I'm sure it has other names)
Fabric Requirements
****Because this project is designed to use scraps, I've listed the cut size of the pieces we'll need, instead of the yardage needed****
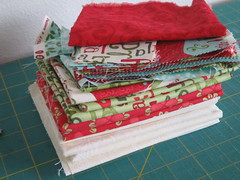
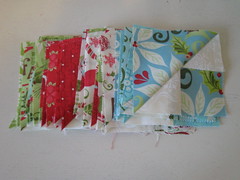
- (36) 5" squares (a charm pack)
~or~
- (18) 4 7/8" squares, cut once on the diagonal to make 36 large triangles.
~and~
- (36) 2 ½" squares.
- (36) 2 7/8" squares, cut once on the diagonal, to make 72 small triangles.
Cutting
Prints - If you are using 5" charms - You are going to do the following to each:
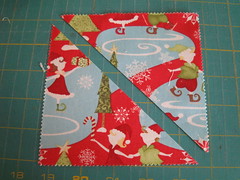
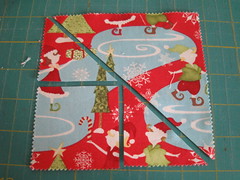
- Cut it along the diagonal. Set aside one half.
- Cut a 2 1/2" square out of the remaining half. Set aside.
The two little triangles are extras, you can toss 'em or save them as you see fit.
If you're not using charms - everything is already cut.
Building the Blocks
These blocks go together super quick if you chain piece them.
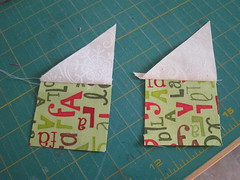
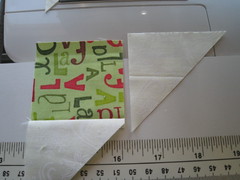
- Sew a small background triangle to a square, press towards the triangle.
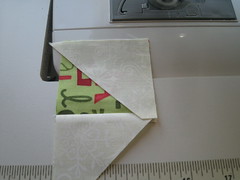
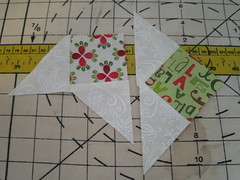
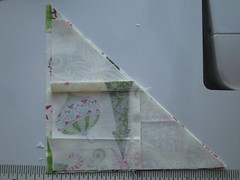
- Sew a second triangle to the adjacent side of the square, making sure that you'll end up with a large triangle, not some sort of wonky shape.
oops!
- Press towards the triangle. Clip all the ears.
Now, if you're going for a scrappy look, stack your pieced triangles and your large triangles next to each other and randomly sew them together, just making sure you don't sew matching ones together.
If you want them to be matchy-matchy take a moment to pair them all up.
My Autumn blocks are scrappy and my Christmas blocks are matchy-matchy.
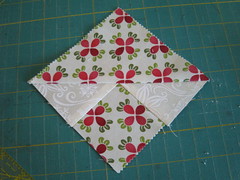
- The large triangle is slightly larger than we need, so line up the diagonals on both pieces. Sew along the diagonal. Press towards the large triangle.
- Trim the block down to 4 1/2"
Now, the fun part!
What layout do you want to use?
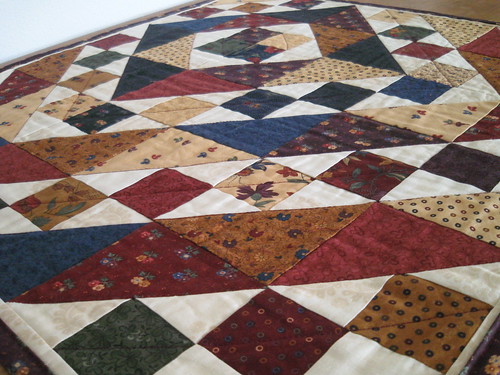
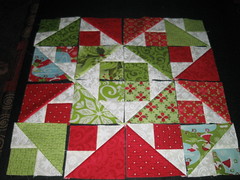
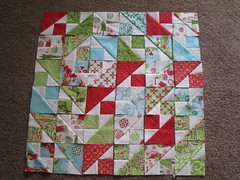
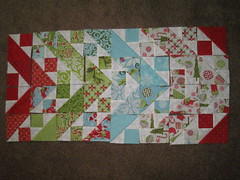
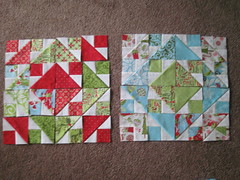
Here are just a few layout possibilities
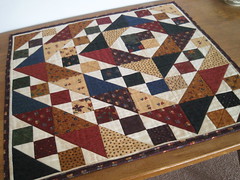
For my Autumn-y topper I used a sampler pack (2 1/2" sq) of Butterfly Garden and some remnants from the same fabric line I received as part of my 12 lb box of scraps.
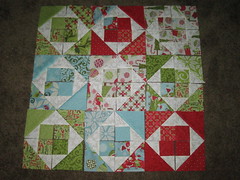
My Christmas blocks are made with 12 Days of Christmas scraps from last year.
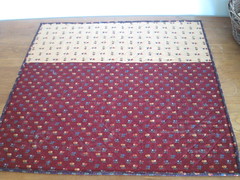
The backing and binding were also pieced from the scraps.
My Christmas blocks are made with 12 Days of Christmas scraps from last year.
The backing and binding were also pieced from the scraps.
I haven't completely decided what I'm going to do with my Christmasy ones....
Wouldn't it look totally wonderful as a color controlled pattern? You can take a look at my Block Lotto Blocks for October for examples of color-controlled blocks.
![second triangle sewn]](http://farm7.static.flickr.com/6005/6207734881_91cbf2d599_m.jpg)
Oh my! These are soooo pretty. Thank you for the great tutorial. I'm hooked and a new follower to your blog.
ReplyDelete