The goal of this step is to sew up the unsewn edges, creating a fabric "pillow"
This is what we have, a nice rectangle, with the sides sewn.
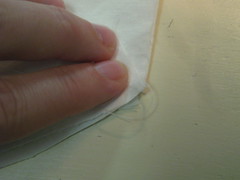
Now we are going to take the two seams and match up the centers.
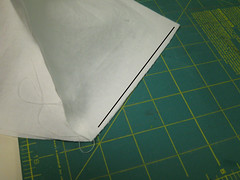
We are going to be sewing along this line.
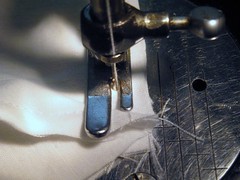
We are NOT sewing over the center. We are going to stop just short of the seam.
Since I like to chain piece, when I get to this point I stop with the needle down, lift the presser foot and turn the fabric.
Then I lower the presser foot and sew off the edge, which serves nicely to lock the stitches.
Sew all of them like this. Then clip them all apart.
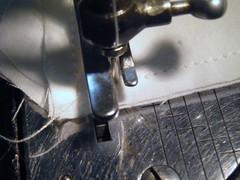
This is what it looks like with one side sewn.
This is what it looks like with one side sewn.
Now, go back and do the same thing for the other side.
This is what it looks like at this point.
This is what it looks like at this point.
Remember, there's a hole at the center where all the seams meet. We want that.
Clip all four corners.
Now the part I do in front of the tv.
Turn them all inside out.
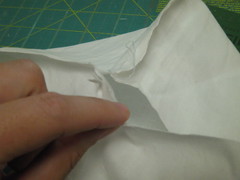
Generally the holes I leave at the center are on the small side, so I tug loose a few stitches to give me a bit more room to turn them.
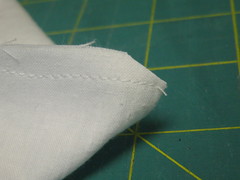
Don't worry too much if you don't have nice sharp points, we'll fix that later.
Turn them all inside out.
Generally the holes I leave at the center are on the small side, so I tug loose a few stitches to give me a bit more room to turn them.
Don't worry too much if you don't have nice sharp points, we'll fix that later.
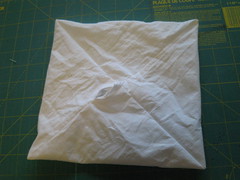
Voila, a fabric box/pillow thingy.
Mr. Chaos calls it "fabri-gami." (which I find funny 'cause I'm horrible at origami.)
At this point, don't smooth them out. Because of the way they're sewn, the edges are all on the bias, which means if you're not careful you can smooth them all out of whack and they aren't square anymore, which will cause difficulties later.
The next step will include ironing, so they will get nice and smooth.
The next step will include ironing, so they will get nice and smooth.



No comments:
Post a Comment