Monday, September 27, 2010

Cinderella

Notions

Wow, what a day, and I'm not even home yet.

Getting down to my self imposed deadline for having all the costumes for the first ballet ready to go.  I gave myself until the end of the month to have everything prepped and ready.  I feel like I'm running around with my head cut off and talking gibberish all the time, but everyone keeps telling me I'm sooo organized.  Just wish I felt organized.

Crud.

Just realized I left the steamer sitting outside the warehouse (we had a photoshoot this afternoon).  Guess I'll be swinging by there on my way home.

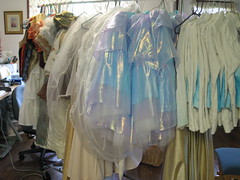
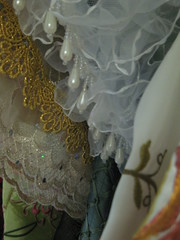
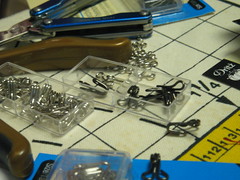
I'm down to the "notes" for the costumes which means I'm mending tears, fixing hems, tacking in labels with names on them.  Not so glamourous.  I've poked myself with my seam ripper so many times today, my fingers are sore.

After lunch while the Muffin was napping I decided to take a small break and work on one of my bee blocks.  I didn't get very far when my Brother started making noises that aren't normal.

Sigh.

Last time is cost me $40 to have the sewing machine guy clear a bind.  I think I'm going to try to take it apart tonight and see if I can fix it myself.

Wish me luck
Thursday, September 23, 2010

Cathedral Windows ~ Step Three


The goal of this step is to sew up the unsewn edges, creating a fabric "pillow"

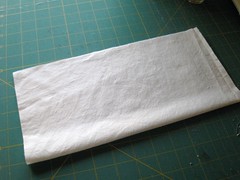
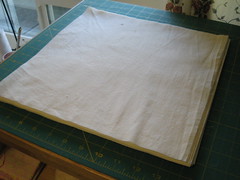
This is what we have, a nice rectangle, with the sides sewn.
short sides sewn

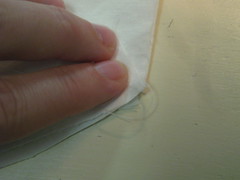
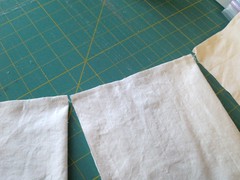
Now we are going to take the two seams and match up the centers.
matching points

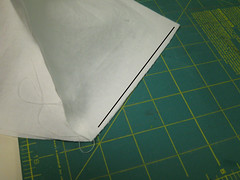
We are going to be sewing along this line.
ready for sewing
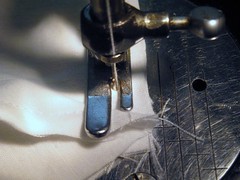
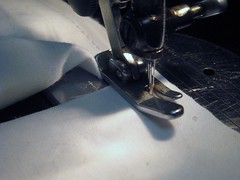
We are NOT sewing over the center.  We are going to stop just short of the seam.
point sewing (2)

Since I like to chain piece, when I get to this point I stop with the needle down, lift the presser foot and turn the fabric.
turn and sewing
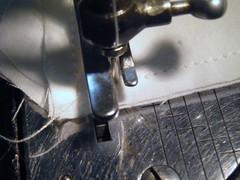
Then I lower the presser foot and sew off the edge, which serves nicely to lock the stitches.

Sew all of them like this.  Then clip them all apart.

This is what it looks like with one side sewn.

one side sewn (2)
Now, go back and do the same thing for the other side.

This is what it looks like at this point.
done sewing before turning
Remember, there's a hole at the center where all the seams meet. We want that.

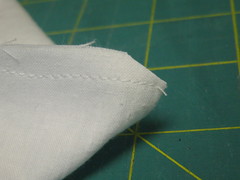
Clip all four corners.
clip corners

Now the part I do in front of the tv. 
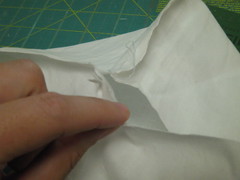
Turn them all inside out.
Generally the holes I leave at the center are on the small side, so I tug loose a few stitches to give me a bit more room to turn them.

Don't worry too much if you don't have nice sharp points, we'll fix that later.
hole in the middle

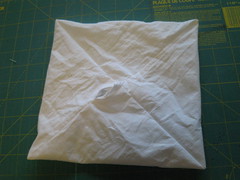
Voila, a fabric box/pillow thingy.
 
Mr. Chaos calls it "fabri-gami." (which I find funny 'cause I'm horrible at origami.) 

At this point, don't smooth them out.  Because of the way they're sewn, the edges are all on the bias, which means if you're not careful you can smooth them all out of whack and they aren't square anymore, which will cause difficulties later.

The next step will include ironing, so they will get nice and smooth.

Saturday, September 18, 2010

Cathedral Windows ~ Step Two

window-header


The goal of this step is to fold each square in half and sew along the short edges.

*A note about thread - It is important to use thread that matches the color of your squares.*

Fold one square of fabric like this.

folded square


Sew along one of the short edges.  I start sewing at the "top"  (the edge that isn't folded.)

I like to chain piece them, it keeps everything together.

chain piecing detail

So, continue folding and sewing along one of the short edges. Do this for all your squares.

one side sewn

Once everything has been sewn together, clip the threads joining each square, and repeat the process for the the other side, starting again at the unfolded edge.

Voila, a square with both short edges sewn.
(sorry no picture, completely forgot about it)

Friday, September 17, 2010

Housebuilding Blog

Since it is going to be quite a process and I want to share it, but not here, I've started a blog dedicated to the process of building our house.  Check it out if you're interested!

Movin' the Chaos to the Country

Sunday, September 12, 2010

Introducing.....

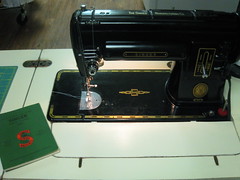
My "new" Singer.
singer 301

A 1950s Singer 301. 

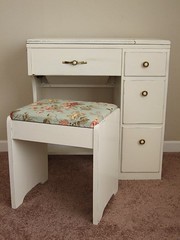
I inhereted this machine from Mr. Chaos' Great-Grandma.  She had been sitting in my garage collecting dust until a friend redid the cabinet she came with.
Sewing Table - After

When I got the cabinet back, I took the machine into the shop to be oiled and cleaned up a bit.  It was pretty funny when I picked her up, the guy at the sewing shop rattled on and on about how great the machine was, and that I was NEVER to sell it, "it has value".  I guess it will be running for my kids' kids.

Anyway, I'm starting to sew with her.  Learning the quirks of a "new" machine is alway fun. 

Tuesday, September 07, 2010

Finding a Home

We've spent the last month or so of weekends driving around the Willamette Valley checking out houses and properties.  Nothing.  Either the property is yucky or the house is falling apart. 

Someone mentioned that we might be interested in talking to Adair Homes, you find land and they build your house, pretty reasonably.  Mr. Chaos and I did our research online and went to talk to Kellie, a "Home Ownership Counselor" at Adair. 

Wow.  seems almost do-able.  We find land and do some sweat-equity, and they build a great house.  We're cautiously excited.  We picked through their blueprints and found one we like, "the 1920".  (all the plans have names that reflect the square footage of the house.)  Not positive it's "the one" but it's in first place right now.

We found a piece of property we like, about 30 minutes south of our current home.  Now, the next step is to have one of the Adair people evaluate the site and let us know if it will work for us.

Stay tuned!

Friday, September 03, 2010

Catherdral Windows, Step One


The goal of this step is to end up with twenty-one 12" squares of background fabric.

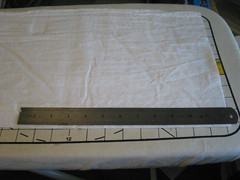
I fold the yardage selvage to selvage, and then fold again, so it fits nicely on the ironing board which doubles as a longer cutting table.  Then I roughly measure out 13(ish) inches, using my handy-dandy ruler.


measuring on ironing board

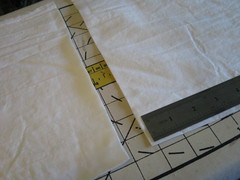
Then I cut with scissors.

first cut with siscors

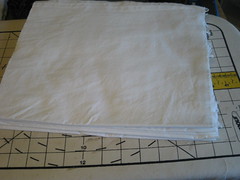
I repeat until I have 8 - 13" x WOF strips.  I only need 7, but I like to have an extra.

stack of 13 in strips

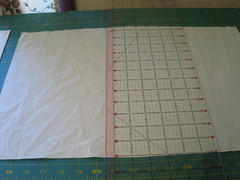
Now I square the strips up and cut into 12" squares.  Pretty basic.
I cut them width-wise first, getting three 12"x 13"(ish) squares from each strip.

ready to cut

Then I stack the three, turn and trim the other two sides.  Then I repeat for the rest of the strips.

stack of 12 inch squares
Viola, a stack of 12" squares.

Thursday, September 02, 2010

Cathedral Windows ~ My Way

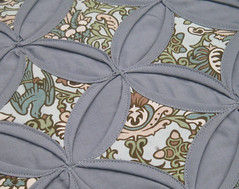
detail

I've decided to post my process for making cathedral windows, step by step, as I do it.
I'm not gonna call it a quilt-a-long, for a couple of reasons
  • I don't think I'm quite cool enough to host a quilt-a-long
  • the posts won't be regular, more like when I have time to work on the project
  • I have no idea how to make a "button"
That being said, please ask questions if something is unclear!!

On to the project.

I'm in this totally awesome All About Christmas Swap, it's blind, meaning no one knows who's making pretties for them.  I have decided to make a runner/hanging and a couple of pillows for my partner, all using cathedral windows.  I have a vague notion of what the finished products will look like, but I'm totally going to go with the flow.

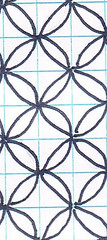
I'm starting with the runner. Here's the basic plan.

runner
.
Here's the fabrics I've decided to use.

option one

For the runner, we need a background fabric and some window squares.

My background will be white.
We need about 2 1/2 yards.
We'll also need about 20 4" squares for the windows.

I know that seems like a lot of background fabric, but remember, there's no batting or backing in this runner.

Since my life requires me to be able to drop a project at a moments notice, I tend to do each step in such a way that it is easy to put away, even mid-step.

Like right now.  I need to go remind my kiddos that sharing is a good thing.

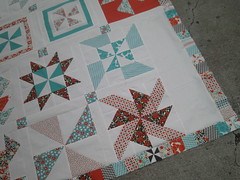
Pinwheel Sampler Top Done!

pinwheel top corner

I finally completed my psiquilt Pinwheel Sampler top.  I made the mistake of asking Mr. Chaos to look at the layout I had decided on, which was the 4x4 square, just like the quiltalong.  I was trying to ask him if the colors worked or if I needed to rearrange the squares a bit.

His response was to completely rearrrange the layout, which was much more unique and made the quilt larger, but also resulted in more math, cutting and piecing. 

Anyway, here she is
pinwheel top

pinwheel top (2)

Sorry for the less than perfect pictures, don't have a lot of space currently to take proper pictures.
I'll take better ones after it's quilted.

On a side note, this was going to be a wedding gift for a friend, but my sister has made repeated comments about the total awesomeness of the colors and patterns.  I think I would be in big trouble if it wasn't under the tree with her name on it.  :)

Wednesday, September 01, 2010

Silk, Satin, and Taffeta, Oh My!

nut rack

My house has been invaded by these beautiful costumes.  I get to do the finish work, adding hooks and eyes, snaps and buttons, fitting them to the dancers.  Not a bit of quilting cotton in sight.

They are new Party Dresses, Lady Mice and Skaters for the Nutcracker.

My focus will be on costuming for a while, not so much quilting.

lace and beads

*sigh*

aren't they pretty?